Plus, how long to ice an injury and other icing tips
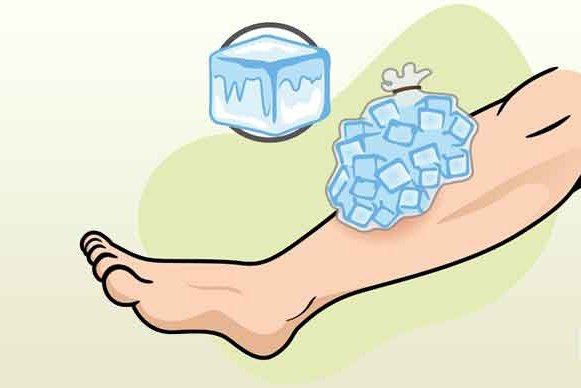
For athletes and athletic trainers, it’s a debate as old as rock-paper-scissors: Which ice pack is best for an injury? From homemade ice packs to gel ice packs, the possibilities are endless.
The best ice packs for injuries (spoiler alert: you can make them!)
With all the ice bags and reusable ice substitutes out there,the rule of KISS (keep it simple, well, you get the idea). I’ve been an athletic trainer for more than 40 years. I’m old school. Good, old, all-American ice is the easiest to use, which is why it’s so effective. I prefer crushed ice because you can put it in a bag and take the air out. Then you can conform it to the injured area and secure it down.
No ice on hand? A bag of frozen peas or corn works too. Other easy-to-use icing methods include:
- Homemade ice cups: A lot of injuries don’t need a major ice bag for an extended period of time. Instead, take some small paper or foam cups, fill them with water and put them in your freezer.When your child comes home from school with an ankle sprain or something similar, take the ice cup, peel off the outer layer, and use the ice to massage the area.
- Gel ice packs: Gray likes gel ice packs because they are pliable like crushed ice.These products conform to whatever body part you’re putting them on.
- Cold therapy systems: Cold therapy systems are devices that you put ice and water into, and they give you a constant flow of cold with some pressure on the injury. While these systems are effective, they can be pricey. Professional and college teams use them more than the average family.
The bottom line: Most ice is created equal, so Gray recommends icing an injury in a way that fits your preferences and doesn’t hurt your wallet.
How long to ice an injury and other icing tips
Once you have your ice, follow the RICE acronym. RICE is key to proper injury care, so it’s important to learn what it stands for:
- Restrict/rest: Not taking time to rest can delay your recovery. Avoid weight-bearing activities for 24 to 48 hours.
- Ice: Ice narrows the blood vessels and slows blood flow to the area (vasoconstriction) so you can start healing.
- Compression: Prevent swelling with a tight, but not too tight, elastic bandage or something similar.
- Elevation: Raise the sore body part above the level of your heart to reduce pain and swelling.
you should try to ice the injury for 10 to 15 minutes every hour for the first 24 to 48 hours. But if life doesn’t allow for round-the-clock self-care (we’re looking at you, job and kids), just do your best to ice it as often as you can. You want to protect the injured area from any additional swelling, which can happen if you introduce heat too soon.
And if sitting with an ice bag just isn’t your thing, try ice massage. Ice massage is easiest to do with an ice cup. Simply massage the injury in a circular, counterclockwise motion with an ice cup.
concerns about frostbite stems from the use of chemical cold packs. Chemical cold packs, depending on the type, have been known to cause some frostbite as they hold their temperature longer. One word of caution: An athlete should NEVER fall asleep with a chemical ice pack on the injured area.
While you’ve got to be smart, keep in mind we use the immersion technique at major events, such as marathons. That’s where you have anywhere between 50- and 100-gallon tubs filled with cold water. When there’s an injury or suspected heat stroke, we immerse the person in the tub as quickly as possible


